
Field Guides / Advanced diesel diagnostics
Diesel failure photographs can teach an owner to recognize corrosion, metallic debris or a damaged nozzle, but they are easy to misinterpret. Similar-looking deposits may have different origins, and an image cannot establish measurements, metallurgy or the sequence of failure. A credible failure atlas pairs each authentic photograph with confirmed component identification, collection context, a qualified interpretation and explicit limitations.
What the symptoms or question actually mean
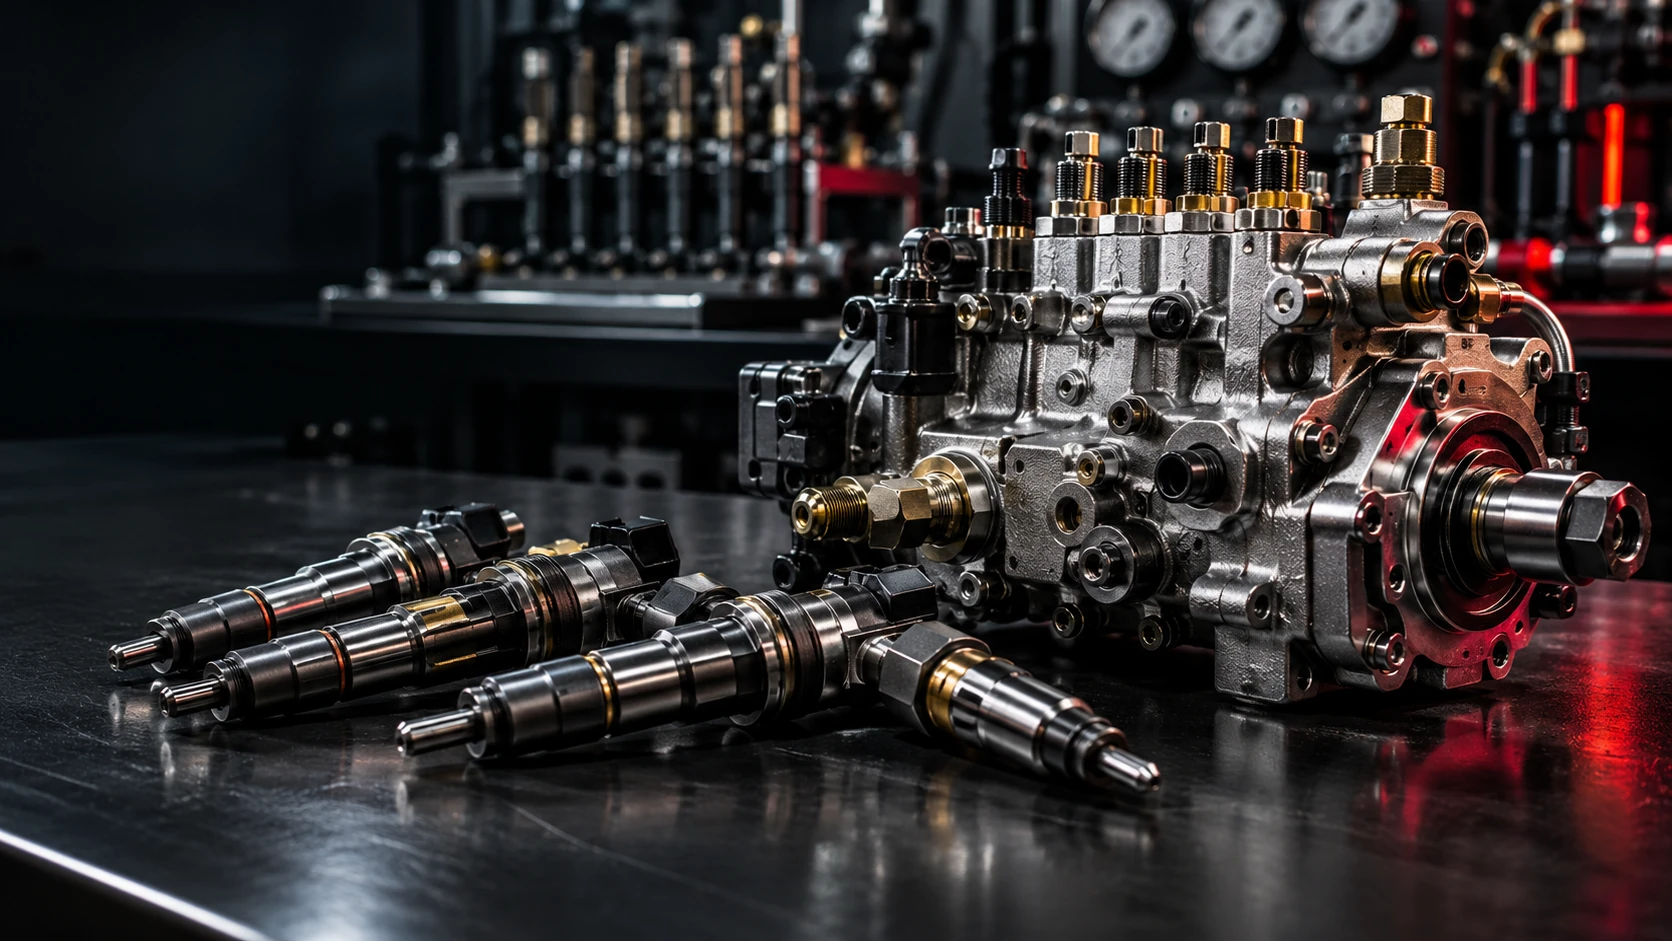
Useful photo groups include clean identification markings, external leakage areas, retained filter debris, corroded surfaces, nozzle damage and properly documented teardown findings. Each needs scale, date, model and whether the image shows an actual DCT unit or an illustrative example. Never present a generic stock photo as the failed customer's component. 'Metal-like' particles should not be labeled as a particular alloy without testing.
What to check and document
Technicians should photograph before cleaning or disassembly, keeping contaminated and reference parts separate. Capture a wide image for orientation and a sharp close-up of the finding; protect private identifying data before publication. Record inspection methods, sample location and the test report that supports the caption. Follow safe handling rules for pressurized fuel and contaminated materials.
How to make the repair or operating decision
An atlas is useful for deciding which question to ask a component specialist, but not for claiming that the photographed defect always produces a particular fault code or requires a specific replacement. Compare findings with the OEM failure procedures. If photos are not yet verified, publish an evidence-capture guide rather than fabricated specimen labels.
Prevent avoidable repeat work
DCT's existing technical images remain illustrative unless verified as actual documented service cases. Authentic annotated failures can be added later from approved shop records, with consent and manuscript files stored in subsequent releases.
Practical checklist
- Capture full unit and close-up views with scale.
- Record actual component and source details.
- Retain photos before and after approved cleaning.
- Differentiate observed conditions from proven causes.
- Label every actual versus illustrative image truthfully.
Use the evidence before the replacement decision
Record the exact engine, controller calibration, operating condition, fault status, measured observations and service-manual test references. An isolated code or visual finding is rarely enough to condemn a high-value injection component. High-pressure systems require trained personnel and OEM-approved safe depressurization procedures.
Frequently asked question
Can I identify a bad injector from a photograph of its nozzle?
A photograph may show damage or deposits, but proper diagnosis can require internal inspection, supported test results and engine-side evidence. Avoid making an unsupported diagnosis by appearance alone.
Need to evaluate an actual component?
DCT can review the manufacturer and part number, application, observed symptoms and requested service for eligibility. A web guide is not a diagnosis, service authorization, or promise that every model can be rebuilt. Get receiving approval before shipping.
Request a component-service review · Mail-in process · Contact DCT
Scope: Educational guidance for diesel owners and qualified professionals. Consult OEM procedures, safety notices, applicable regulations and a qualified technician; do not attempt high-pressure fuel disassembly from this article.